EP Adjustable Receiver Extension Installation InstructionsUpdated a year ago
How to Install the EP Adjustable Receiver Extension
WARNING: Do not use power tools for this installation. Doing so, you risk stripping the hex screw head. Taking the time to use the included wrench will save you headaches, time, and possibly money. We will not warranty any damage done by using power tools for this installation.
Remove the Factory Pistol Receiver Extension:
- Remove the brace from your pistol.
- For the Extar Stabilizer, pull straight back to remove the brace.
- For SB Tactical Braces, direct compressed air into the hole in the back of your brace then slide it off.
- Field strip your pistol by removing the upper from the lower then set the upper aside.
- Remove the Buffer Retainer by depressing the buffer slightly and then using your finger or a tool to slide the retainer straight up and out then set aside the buffer and spring.
- Locate the Back Retainer (Metal plate holding the Receiver Extension on) Bolt from inside the QD socket.
- Using the included hex key, remove the bolt. NOTE: The first turn may take quite a bit of effort as they come tight from the factory.
- Once you have unscrewed the bolt, slide the Back Retainer off of the tube and set it aside.
- Pull the Receiver Extension off.
Install the Adjustable Receiver Extension:

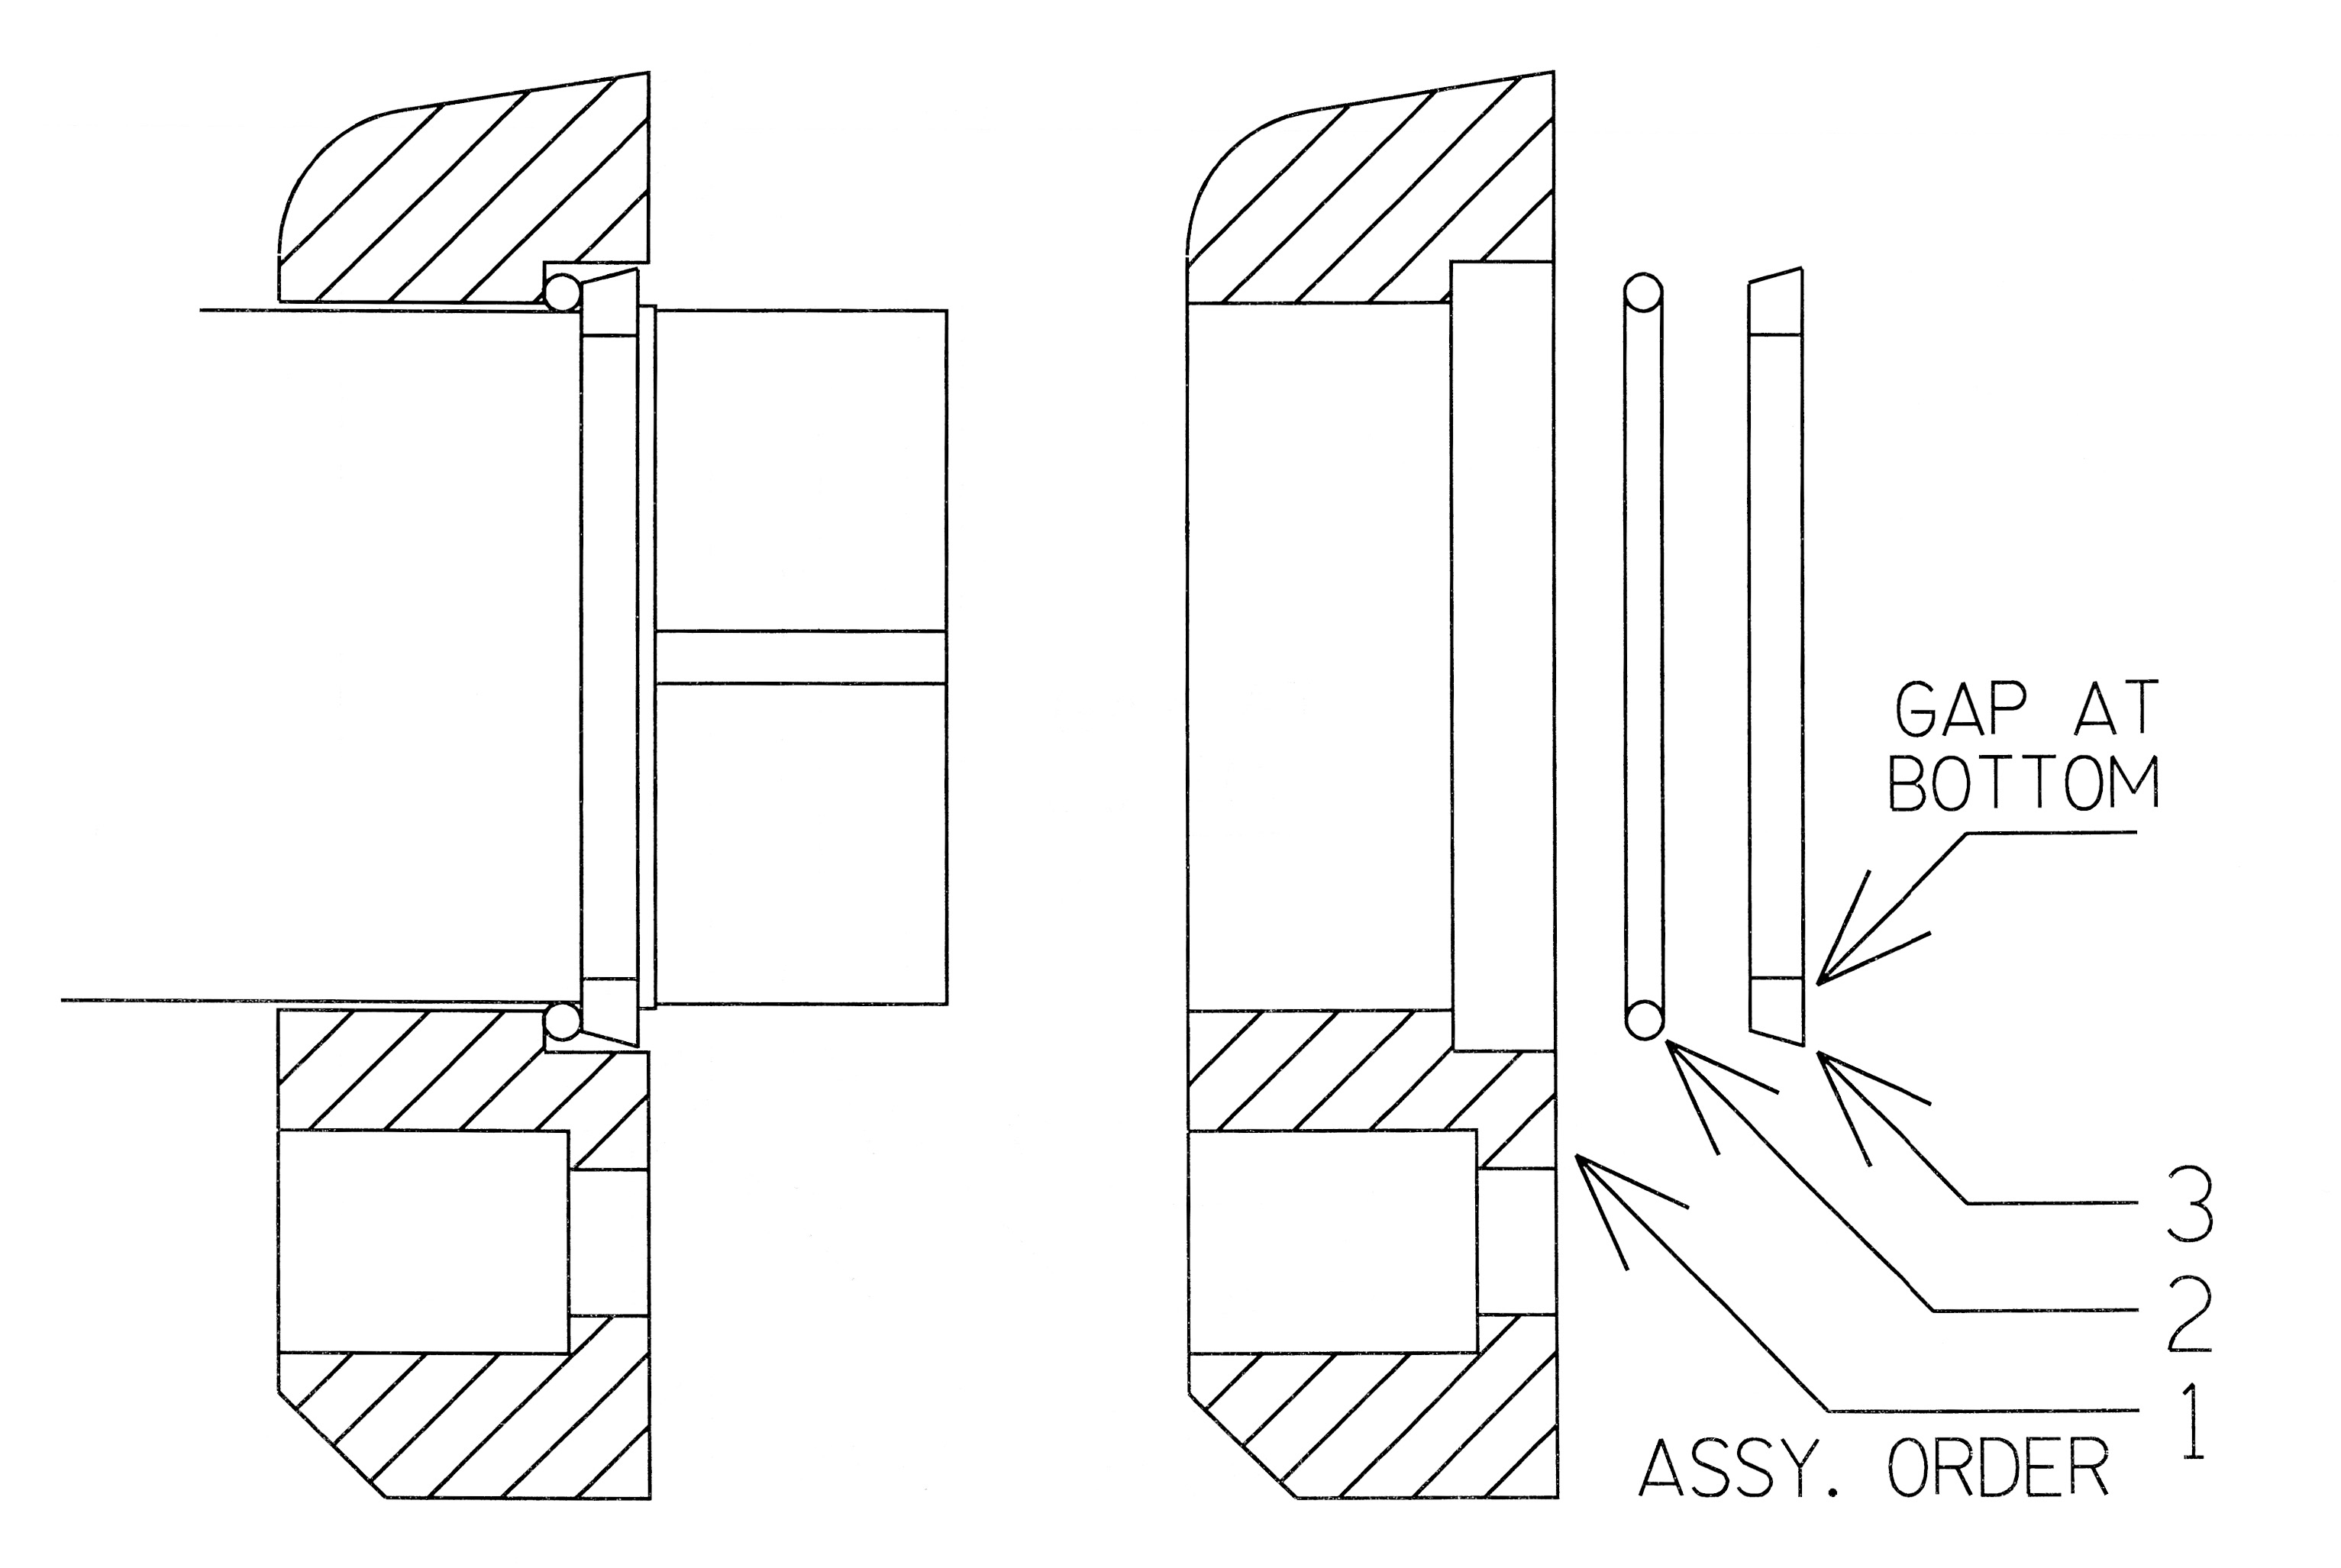
- Take the Back Retainer and slide it onto the Adjustable Receiver Extension with the QD socket facing the adjustment track.
- Put the included o-ring on the receiver extension and nest it in the space between the two ridge portions on the tube, past the groove portion.
- Install the split ring on the receiver extension with the tapered side going toward the adjustment track and the flat side going toward the lower receiver. Locking it into place in the groove mentioned in the last step.
- With the split ring in place, roll the o-ring down and over the ring.
- Slide down the retainer plate over the o-ring and split ring.
- Lining up the receiver extension with the lower receiver, push the receiver extension into place. NOTE: These two parts may be tight-fitting. Try slightly turning and shifting the tube against the lower to help the lock-up notches line up with the lower receiver.
- Now align the hole in the Back Retainer with the threaded hole in the lower and insert the Back Retainer Bolt.
- Start the bolt by hand if you can, and then use the included hex key to tighten it down, ensuring to firmly press the key into the bolt face in order to avoid stripping the bolt.
- Hand-tighten the bolt using the leverage of the long end of the wrench.
- Now, reassemble your pistol in the reverse order and perform a function check.
Disclaimer: Firearms with barrels under 16” cannot have a buttstock without being considered a Short Barreled Rifle (SBR). The manufacture of SBRs is generally lawful when performed after the receipt of a properly submitted ATF Form 1 (application to make and register a firearm) and submission of a $200.00 making tax payment. State and Local Laws supersede NFA controls. Title 27 CFR Chapter II Section 479.52.
Was this article helpful?
Yes
No
